


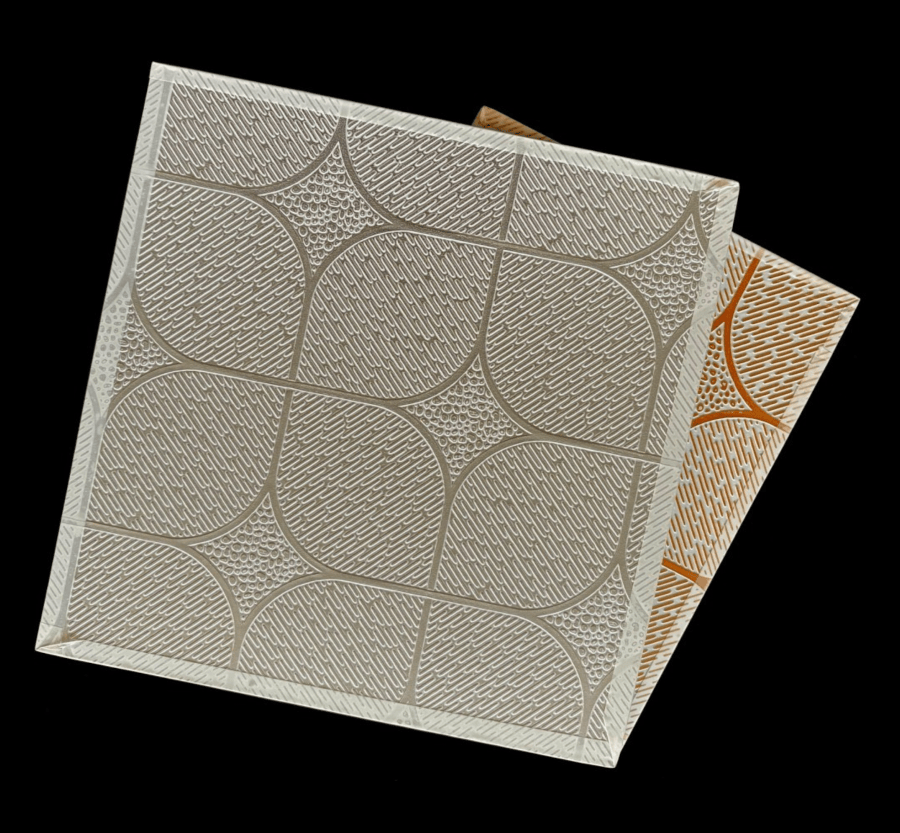
Cutting gypsum ceiling board requires precise techniques and proper tools to achieve clean, professional results while minimizing waste and ensuring structural integrity. The quality of your cuts directly impacts installation efficiency, joint alignment, and the overall aesthetic appeal of the finished ceiling system. Understanding the unique properties of gypsum ceiling board materials and implementing proven cutting methodologies can dramatically improve project outcomes and reduce material costs.
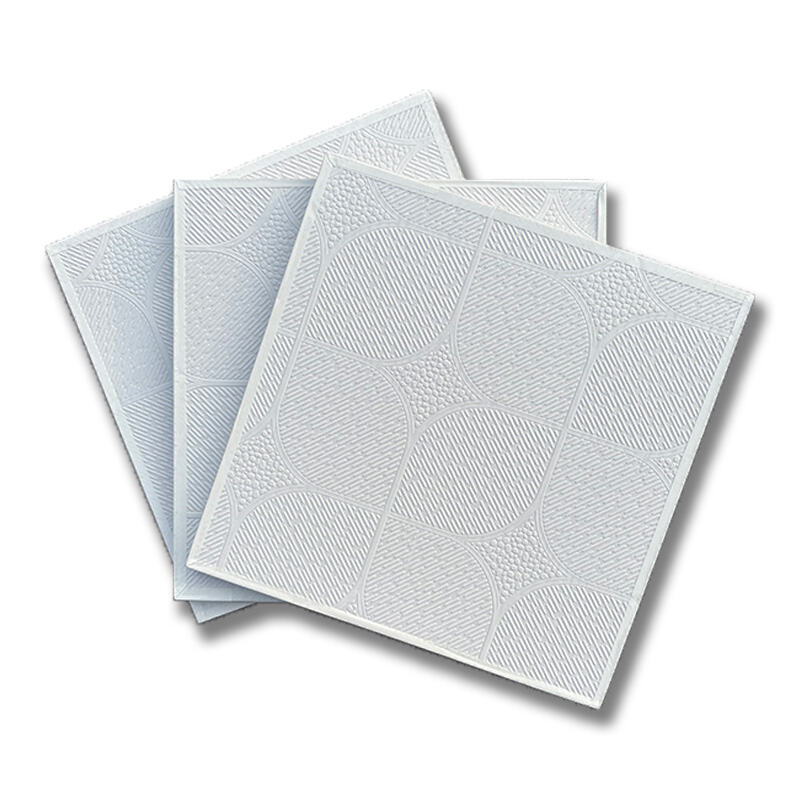
Professional contractors and installers recognize that successful gypsum ceiling board cutting depends on understanding material characteristics, selecting appropriate cutting tools, and following systematic preparation procedures. Each type of gypsum ceiling board presents specific challenges related to density, thickness, surface treatments, and backing materials that influence cutting approach and tool selection.
Essential Tool Selection for Gypsum Ceiling Board Cutting
Manual Cutting Tools and Their Applications
Sharp utility knives remain the most versatile tool for cutting standard gypsum ceiling board up to 12mm thickness. The blade should be replaced frequently to maintain clean cutting edges and prevent tearing of the gypsum core material. Score-and-snap techniques work effectively for straight cuts when the knife penetrates approximately one-third of the board thickness on the first pass.
Specialized gypsum board saws feature aggressive tooth patterns designed to cut through gypsum ceiling board without clogging. These hand saws excel at making curved cuts, circular openings for fixtures, and detailed cutouts where precision matters more than speed. The saw blade should be kept clean and sharp to prevent ragged edges that compromise joint quality.
Keyhole saws provide excellent control for small openings and intricate shapes in gypsum ceiling board installations. The narrow blade allows tight radius cuts while maintaining accuracy, making them ideal for electrical outlet cutouts and HVAC penetrations in ceiling applications.
Power Tool Options for Efficient Cutting
Reciprocating saws equipped with fine-tooth blades can rapidly cut gypsum ceiling board, particularly in renovation projects where existing material must be removed. Variable speed control prevents overheating and reduces dust generation during extended cutting operations.
Rotary cutout tools offer precision for small openings and detailed work in gypsum ceiling board installations. These tools provide excellent control around obstacles and can create smooth, finished edges that require minimal additional preparation.
Circular saws with carbide-tipped blades designed for gypsum materials can handle large-scale cutting operations efficiently. Proper blade selection and cutting speed prevent chipping and ensure clean edges suitable for visible ceiling applications.
Measurement and Layout Techniques
Accurate Measuring Methods
Precise measurement begins with understanding the installation grid system and accounting for expansion gaps required in gypsum ceiling board applications. Use a reliable measuring tape and mark measurements on the back surface of the board to avoid visible marks on the finished face.
Create templates for repetitive cuts, especially when working with irregular room shapes or multiple fixture penetrations. Cardboard or thin plywood templates ensure consistency across multiple gypsum ceiling board pieces and reduce measurement errors that can compound throughout the installation.
Account for the kerf width of your cutting tool when marking cut lines. Most utility knife cuts remove minimal material, but saw cuts can remove 2-3mm of material width, requiring adjustment in your measurements to maintain proper fit.
Layout Planning and Optimization
Plan your gypsum ceiling board layout to minimize waste while maintaining structural integrity and aesthetic appeal. Start layout from the center of the room and work outward to ensure balanced edge pieces and avoid narrow strips that are difficult to install securely.
Consider the direction of the gypsum ceiling board installation relative to the supporting structure. Running boards perpendicular to joists provides optimal structural support, while parallel installation may require additional blocking or closer joist spacing.
Mark all penetrations, light fixtures, and HVAC elements on your layout plan before beginning cuts. This systematic approach prevents errors and ensures that all necessary openings are accurately positioned in the gypsum ceiling board installation.
Cutting Techniques for Different Applications
Straight-Line Cutting Methods
The score-and-snap method works effectively for straight cuts in gypsum ceiling board up to 15mm thickness. Score the face paper and gypsum core in one smooth motion, then position the board over a straight edge and apply downward pressure to complete the break. Clean up the back paper with a utility knife for a finished edge.
For thicker gypsum ceiling board or materials with rigid backing, use a straightedge guide and multiple scoring passes to achieve clean breaks. Deep scoring prevents incomplete breaks that can result in rough or uneven edges requiring additional finishing work.
Power cutting with circular saws requires proper support for the gypsum ceiling board on both sides of the cut line. Use sawhorses or cutting tables to prevent board flexing that can cause binding and rough cuts.
Curved and Irregular Cuts
Creating curves in gypsum ceiling board requires specialized techniques depending on the radius and application. For gentle curves, score multiple parallel lines across the back of the board, then carefully flex the material to the desired shape before installation.
Sharp curves and irregular shapes require cutting techniques that maintain board integrity while achieving the required profile. Use keyhole saws or rotary tools for tight radius cuts, working slowly to prevent chipping or cracking of the gypsum ceiling board.
Complex architectural details may require creating templates from flexible materials that can be transferred to the gypsum ceiling board for accurate cutting. This approach ensures repeatability when multiple identical pieces are required.
Safety and Quality Control Measures
Personal Protection and Workspace Safety
Cutting gypsum ceiling board generates fine dust particles that require appropriate respiratory protection. Use N95 or higher-rated dust masks, especially during power cutting operations or when working in enclosed spaces with limited ventilation.
Eye protection prevents gypsum particles from causing irritation during cutting operations. Safety glasses with side shields provide comprehensive protection against debris generated by both manual and power cutting tools.
Maintain a clean, organized workspace to prevent accidents and ensure accurate cuts. Clear debris regularly and ensure adequate lighting for precise measurement and cutting operations on gypsum ceiling board materials.
Quality Assurance and Edge Finishing
Inspect all cuts for smoothness and accuracy before installation. Rough or uneven edges in gypsum ceiling board can prevent proper joint formation and compromise the finished appearance of the ceiling system.
Use fine-grit sandpaper or a rasp to smooth rough cut edges when necessary. This finishing step is particularly important for visible edges or cuts that will interface with trim or molding elements.
Test-fit cut pieces before final installation to ensure proper alignment and gap spacing. This quality control step prevents installation delays and reduces the need for field modifications of gypsum ceiling board pieces.
FAQ
What blade type works best for cutting thick gypsum ceiling board?
Carbide-tipped blades with fine teeth (10-12 TPI) provide the cleanest cuts in thick gypsum ceiling board materials. These blades resist dulling from the abrasive gypsum content and maintain sharp cutting edges longer than standard steel blades, resulting in smoother edges and reduced finishing work.
How can I prevent cracking when cutting gypsum ceiling board?
Support the gypsum ceiling board properly on both sides of the cut line and avoid forcing the cutting tool through the material. Score deeply enough on the first pass to penetrate the face paper and gypsum core, then complete the break with controlled pressure to prevent stress cracking in adjacent areas.
What is the recommended approach for cutting openings in installed gypsum ceiling board?
Use a rotary cutout tool or keyhole saw to cut openings in installed gypsum ceiling board, working from the finished face when possible. Mark the opening carefully and drill starter holes at corners for square openings, then cut along the marked lines with steady, controlled movements to maintain accuracy and prevent overcuts.
How do I achieve clean edges when cutting decorative gypsum ceiling board?
Score the decorative face paper first with a sharp utility knife, then complete the cut from the back side to prevent tearing of the surface material. For laminated or coated gypsum ceiling board, use fine-tooth saw blades and cut at slower speeds to prevent delamination or surface damage during the cutting process.